¶ Introduction
This document details how organisations can provide a Secure-ISS Domain User Account with Local Administrator Privileges, without elevating the account to Domain Admin.
This is particularly useful when providing Domain User Access to the P1 Response Jumpbox and associated Critical Assets for Secure-ISS SOC Engineers.
NOTE: If Domain Controllers are to be included in the Critical Assets P1 Response Group, Local Administrator Privilege cannot be granted using the procedure below. You will need to create a SISS Domain Administrator Account for the P1 Response Mechanism.
¶ Security Groups
Although technically, Local Administrator Privilege elevation can be granted without creating Security Groups, it is good practice to use them. The instructions here will use Security Groups for both Assets and Users.
¶ Asset Security Groups
The P1 Response Matrix will have defined a certain number of critical assets. To assist with targeting certain assets for elevated permissions and to assist with Item Level Targeting of Group Policy, Security Groups for Assets can be used.
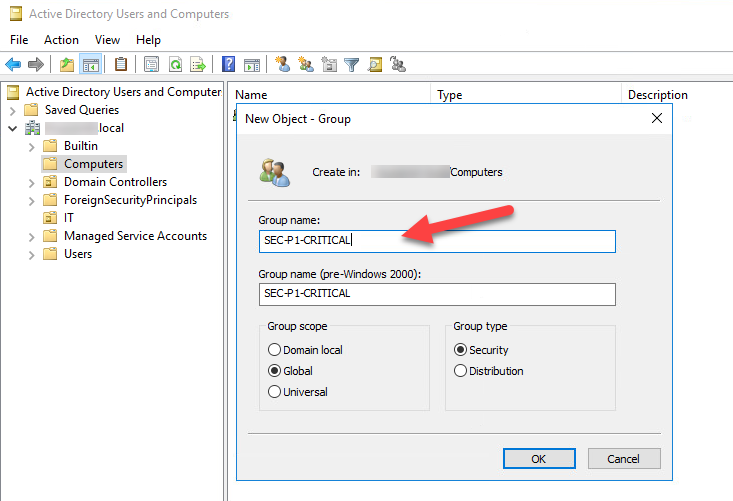
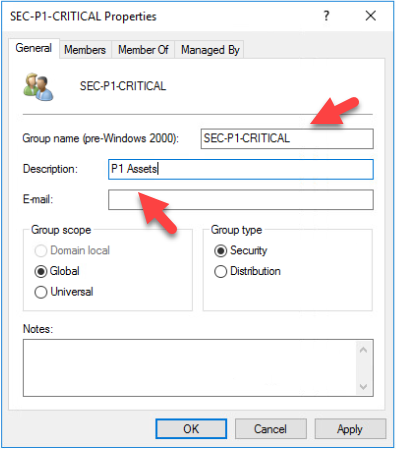
- First, create a Security Group and for example, call it SEC-P1-CRITICAL and give a fitting description.
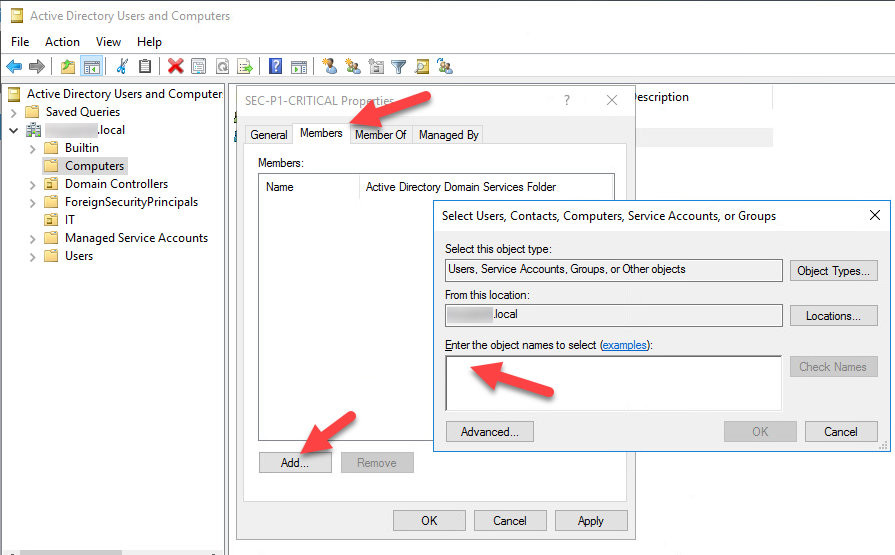
- Next, add into it, the In-Scope P1 Critical Assets.
Once the Security Group for the Target Assets has been created, we can move on to the User Assignment.
¶ Privileged User Assignment Security Groups
The Security Groups are used to apply local privileged administrator access to the local machines in the respective Asset groups. So, a user whose account resides in a particular Security Group will have local administrator privileges for a machine he or she logs into, that resides in the corresponding Security Asset Group.
This is to ensure a user logged onto an asset can perform local administrator task(s) such as installing software, without their account being elevated to Domain Administrator.
-
Create a new Domain User for the Secure-ISS SOC Team. It can be anything but for the purposes of this document, we will use ‘Secure-ISS-a’ as the username (“-a” denoting that this is a privileged user, however, follow any of your organisation’s naming conventions).
-
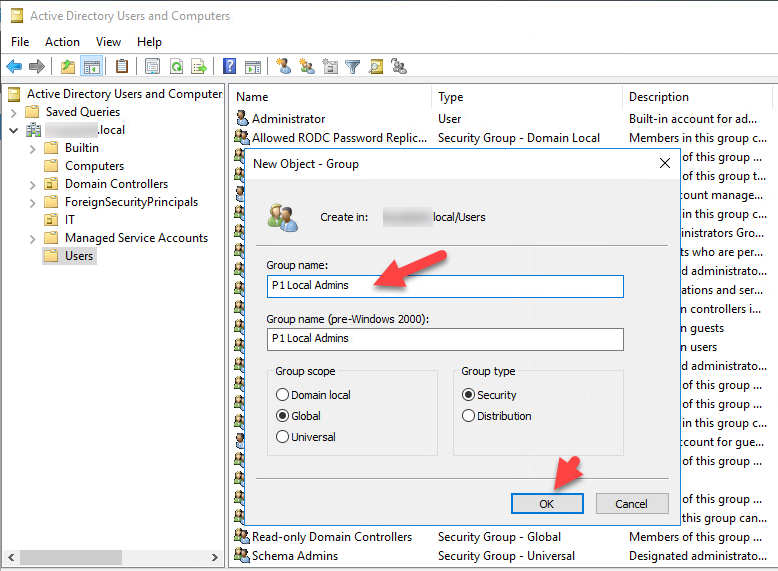
Next, create a new Security Group called P1 Local Admins as shown below.
- Once Created, edit the group, and add the new Secure-ISS-a Domain User to the group.
NOTE: You may add any other domain users to this group, if you wish for them to have Local Admin rights on the target systems.
¶ Group Policy
Now that the Security Groups have been created, the final step is to create and configure the Group Policy.
- Open Group Policy Management Console, right click on Group Policy Objects and select New.
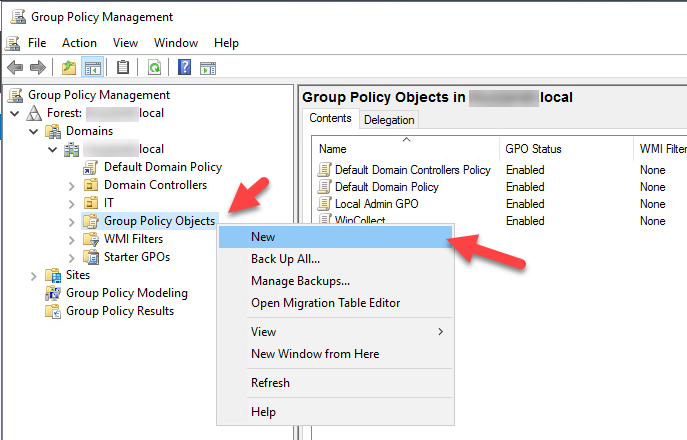
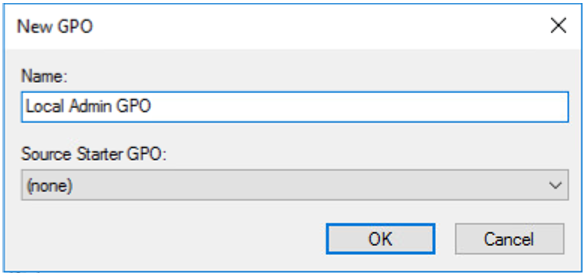
- Type the name of the Policy ‘Local Admin GPO’.
-
Right-Click the new GPO and select ‘Edit’.
-
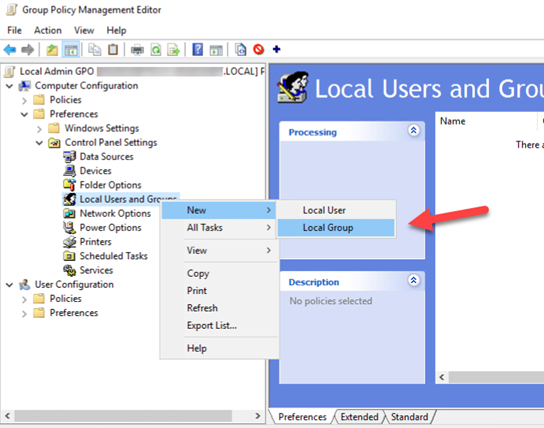
In the Group Policy Management Editor, expand Computer Configuration / Preferences / Control Panel / Settings / Local Users and Groups.
-
On the Local Group tab, define the Group by selecting Administrators (Built-in) for Group Name. Give the Group a fitting description.
-
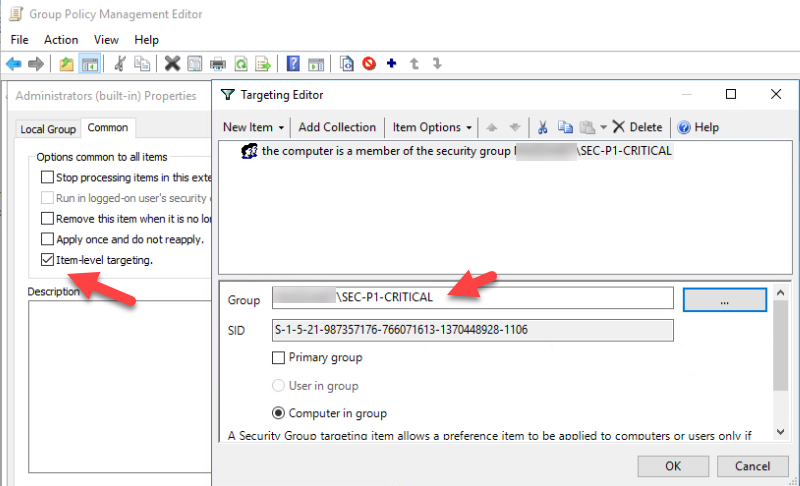
On the Common tab, check the box ‘Item Level Targeting’ and click Targeting.
-
In the Targeting Editor, Select New Item and select Security Group.
-
Apply the Security Group of Assets created earlier.
-
Make sure the ‘Computer in Group’ radio button is selected.
-
Apply the GPO to the OU that contains the target computer/servers.
-
Once a gpupdate is performed against the asset, the privileged group appears in the local administrators group.
NOTE: Be mindful of the setting “Overwrite existing group settings”. Our recommendation is to NOT check this setting.